

AVUE Avue Self Sealing Sterilization Pouches
- Rs. 195
Rs. 315- Rs. 195
- Unit price
- per
Description
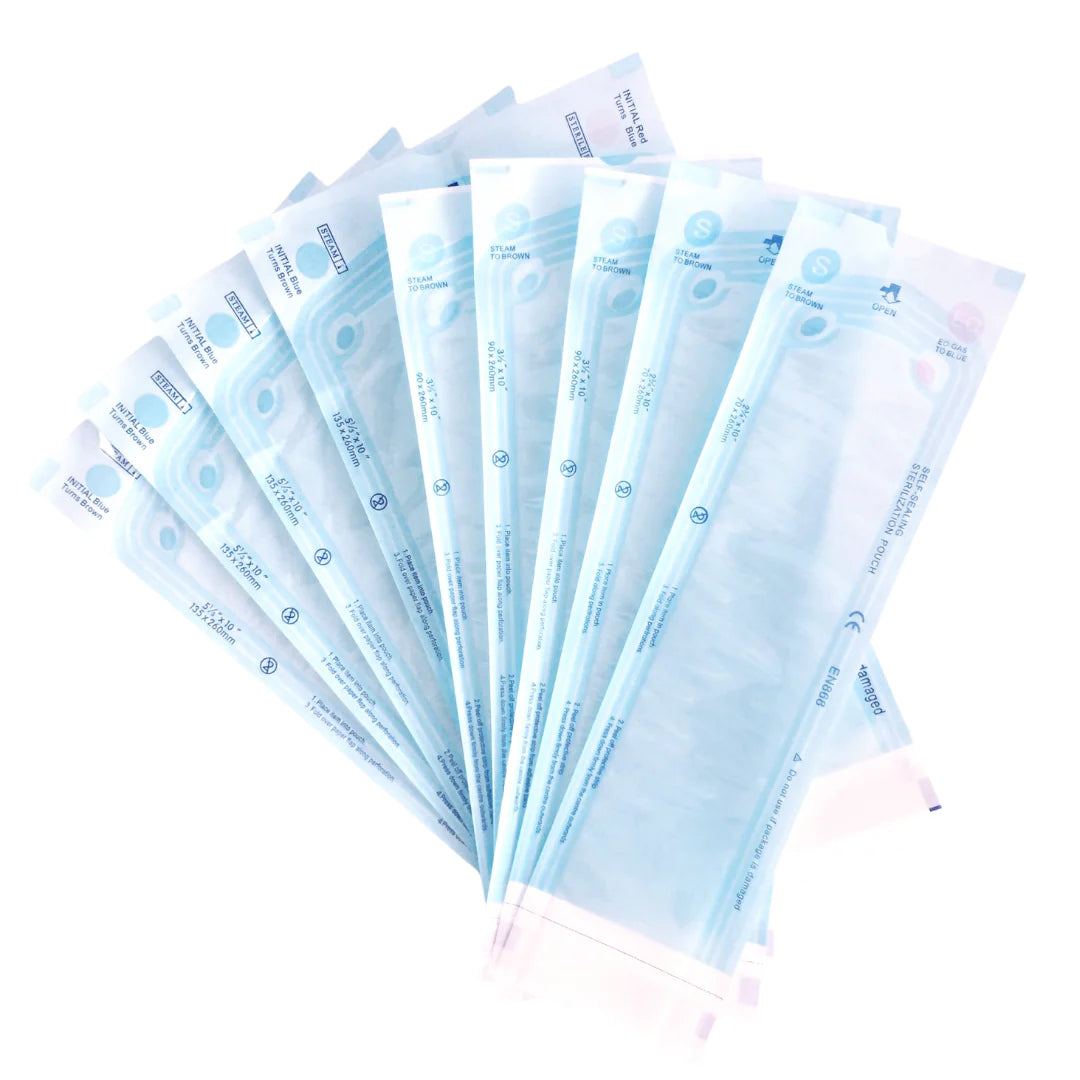
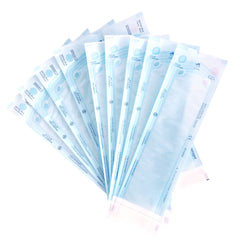
xAvue Self Sealing Sterilization Pouches
When working in an environment where you’re responsible for providing client services involving different instruments or tools, sterilization is the key to providing sanitary conditions. A lack of sterilization can quickly put individuals at risk of potentially contracting diseases and infections due to the spread of harmful bacteria. Using the proper sterilization pouches in different environments can prevent that from happening. The convenient pouches are easily accessible, durable, and spacious enough to hold several instruments simultaneously. It’s also easy to get the self-sealing sterilization pouches in different sizes based on what you’re planning to store inside them.
Description
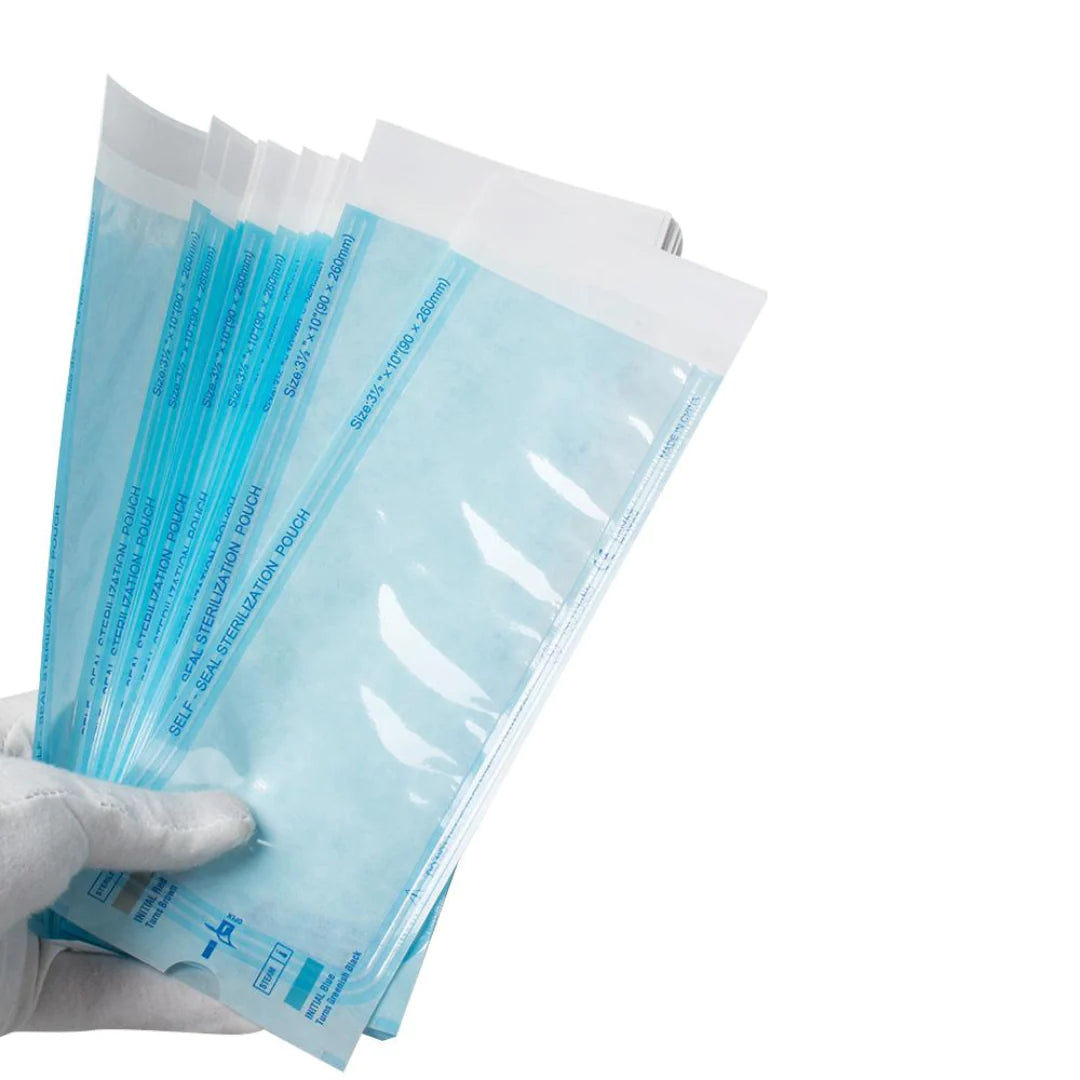
sterilization pouches are self-sealing, have an adhesive strip, and are easy to use .Maximum assurance of sterilization with the presence of new internal and external indicators. The corner tack seals prevents corners from curling after sterilization.
Features
- Strong and secure seal with extra wide chevron seal protects against instrument breaching.
- Dual process indicators are made from lead-free, non-toxic, water-based, environmentally friendly ink.
- Non-tearing film prevents from puncture and tearing.
- Clean separation of paper and film, when opened, ensures safe presentation of sterile products.
Do you know how to load?
Having an autoclave in good working condition is just the beginning. You also need to ensure your teammates know how to load instruments and packs correctly for optimal results.
- An autoclave should never be overloaded. It is better to run two cycles with smaller loads, than a single cycle with an autoclave filled to the brim. Sadly, overloading happens much more frequently than practitioners realize.
- Pouches should not be stacked horizontally. Instead, they should be placed flat and sterilized one at a time. This is called “single height loading.”
- If you place a pouch flat, the paper side should face up, and the plastic side should face down. This allows moisture to escape through the paper side (hot air goes up).
- Pouches placed vertically (i.e. side by side on a rack) should have enough air between them to allow for ventilation. You can purchase commercial racks made for this purpose.
- Pouches should not touch the inner sides of the autoclave, as the inside gets hot and can burn them.
- Ensure instruments are clean and dry before wrapping them.
- At the end of a cycle, the door should be open as soon as possible to allow the equipment to dry and to prevent items from burning due to excessive heat exposure.
- Instrument packs should not touch each other in the autoclave so that steam can circulate between them.
- Remember that sterilization tape only means the surface of a pack was sterilized. It does not ensure the deepest part of the pack is sterile. This is the reason why a sterilization strip must be placed deep inside a pack (not in the top layer, as is often done).
Specifications
- After instruments have been cleaned, they must be placed in sterile bags or pouches to ensure that they remain sterile until their next use. This is true for nail technicians, dentists, and other medical professionals. Knowing you’re getting clean and sterile instruments is a very calming thought when sitting in the dentist chair.
- These self-sterilization pouches help ensure the safety of staff members and dental patients alike. These pouches are approved by the FDA as a medical device to sterilize equipment and protect tools against contamination during handling. The pouches protect the contents from spreading infection or being infected.
- Not only do these pouches help with sterilization but they also improve organization. These pouches act as organizers as they keep dental tool kits together so all the instruments are in the same place.
Benefits
- Blue tinted transparent film provides easy viewing of instruments and identifying any punctures of the film.
- Extra strong seal prevents breach through by instruments.
- Triple seal and triple heat processed.
- Medical grade paper wet strength treated for big performance.
- With internal and external steam & ETO indicators.
- Sizes : 2.25″ x 4″, 2″ x 7.75″, 3.5″ x 10″, 9.8″ x 15.74″
Related Products
DA
DA
DA
DA
DA
DA
DA
DA
DA
DA
Recently Viewed Products

- Choosing a selection results in a full page refresh.