


 ">
">
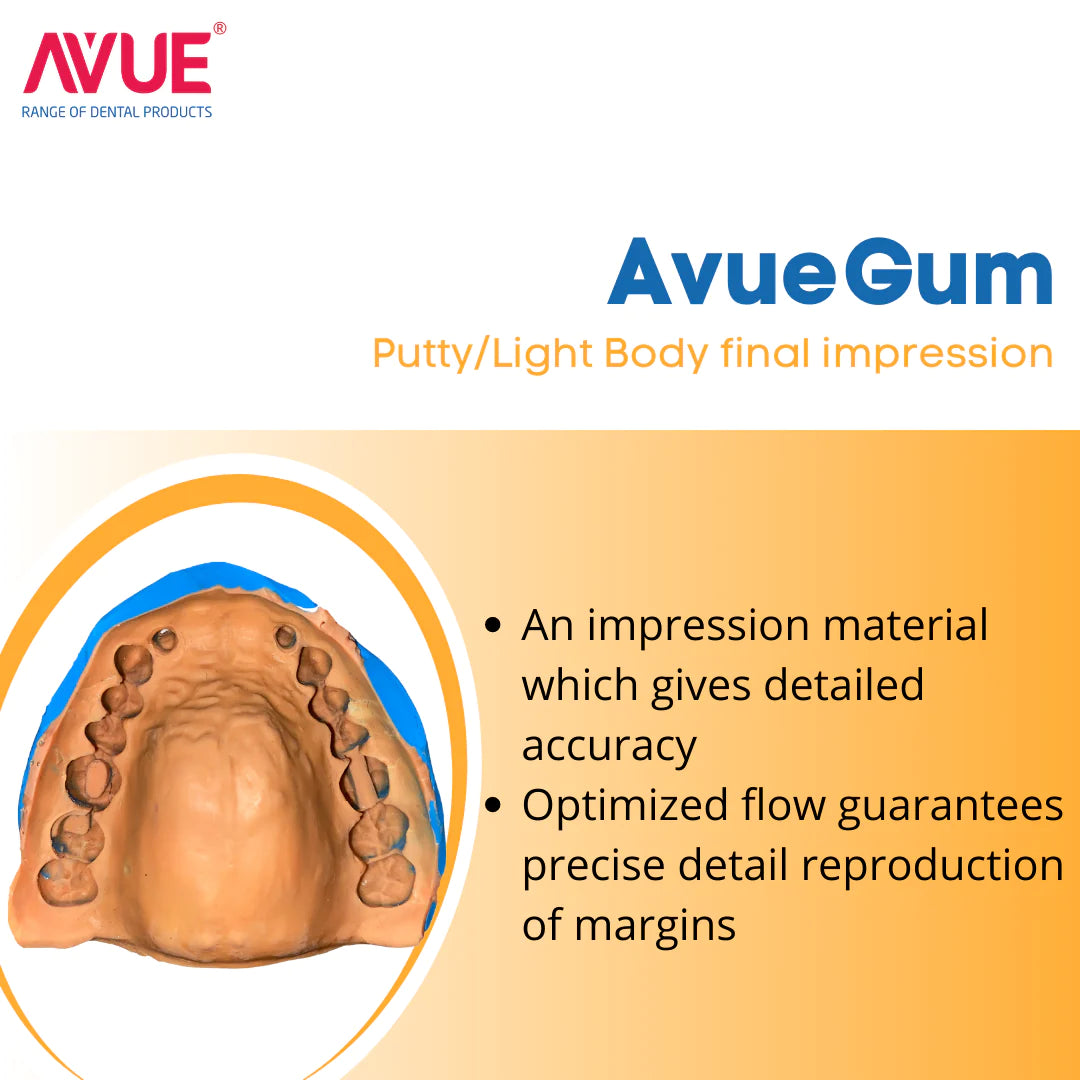


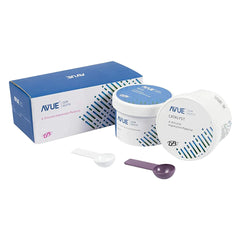


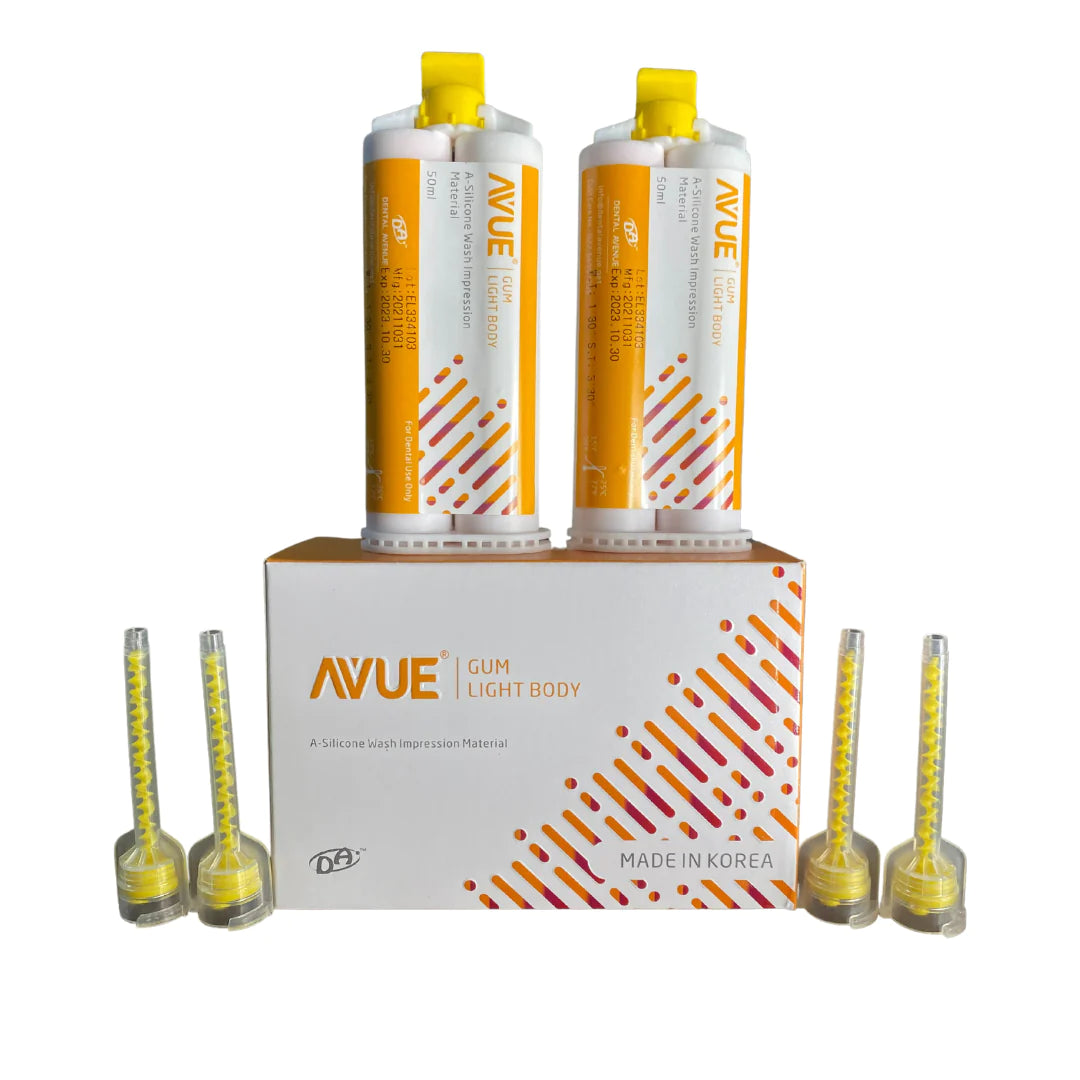
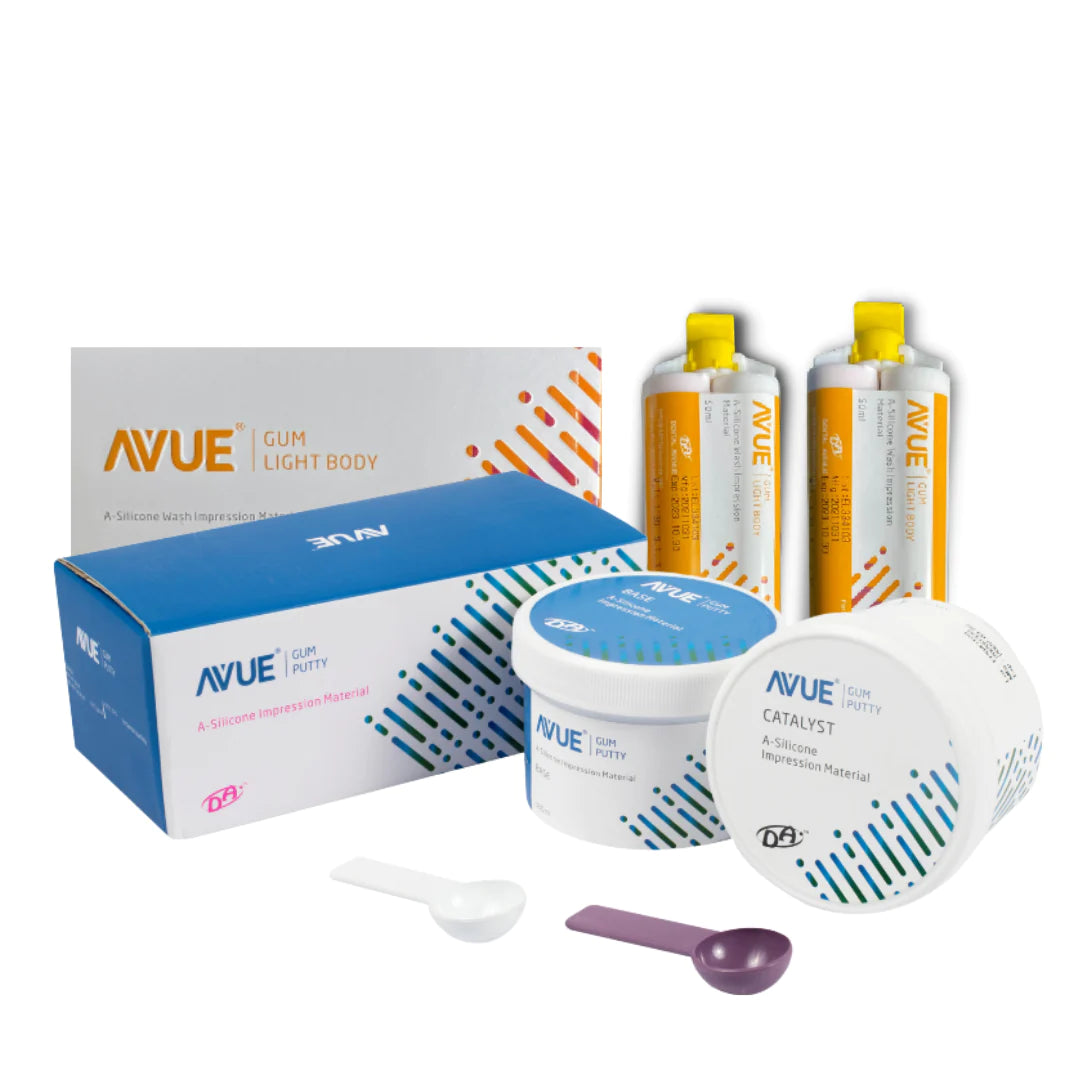
AVUE AvueGum Putty/Light Body - Addition Silicone Impression Material
- Rs. 2,300
Rs. 3,000- Rs. 2,300
- Unit price
- per
Description
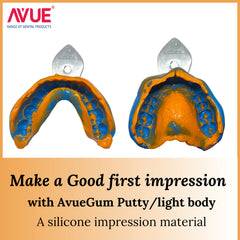
xAddition Silicone impression material.
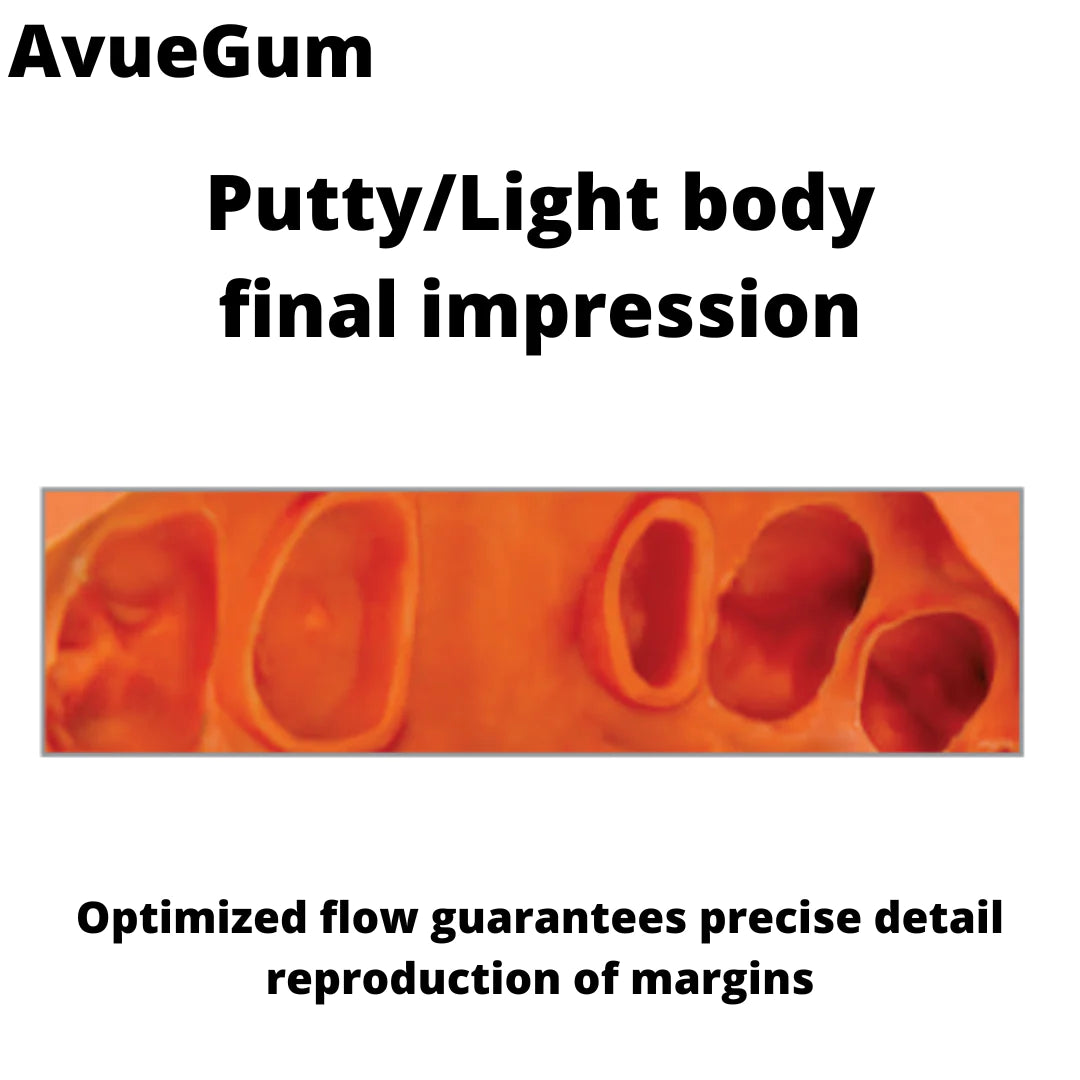
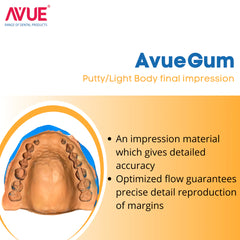
An impression material which gives detailed accuracy & excellent margins which the most important requirement of any restoration or prosthesis
Clinically, Improved hydrophilicity of AvueGum
Results in better wettability of the tooth surfaces, and performance in a moist environment offer better-than-ever precision.
Hydrophilicity, or contact angle, is most important when the material is being dispensed intraorally. AvueGum low contact angle along with tooth surface helps ensure an accurate impression in the presence of Saliva/GCF
High tear strength of AvueGum
Help to reduce the risk that the impression material tears off upon mouth removal. Another essential aspect for clinical success: The impression material has to withstand all the forces it is exposed to upon removal from the mouth. AvueGum impressions are rigid enough to withstand all the compression forces
Impressions of AvueGum are Dimensionally stable
Distortions can be the reason for poorly fitting resorations. They usually are not known until the final restoration is ready for seating.AvueGum is dimensionally stable showing a minimum amount of shrinkage
AvueGum Light body/Medium body shows thixotropic characteristics
Rheological characteristics making single step/putty wash impression more accurate. As AvueGum material shows shear thinning while applying pressure making it stable at first and flowable under pressure which is very important for a medium body
The impression is stable and can be cast even after one month
AvueGum impression can be poured multiple times without jeopardising the accuracy accuracy of impression materialAvueGum Putty has high filler loading.
It is often combined with a AvueGum Light body during the impression procedure, known as the putty-wash technique, and is commonly used for dental impressions.
Impression techniques for Putty/Lightbody
Two techniques—one-stage or two-stage procedures—can be used when taking impressions with AvueGum light body and putty. For one-stage procedures, the wash material is syringed on the prepared tooth, and then the unset putty is seated over the light body material. AvueGum Putty is very soft making it possible to capture margins in wash material as it is not pushed by its very heavy body consistency
For two-stage procedures, the initial putty impression is made and allowed to set, and then it is subsequently relined with wash materials,As per certain studies, two step impressions are better as all the details are captured in light body
Features of AvueGum Putty/Light body
- A firmly fixed material to allow tray support, yet flexible enough for easy removal.
- Easily mixed to Homogenous & Bubble free consistency Optimized flow guarantees precise detail reproduction in every clinical condition.
- Stays where you want and flows on your demand.
- Thixotrophic – non slumpy. Stable as well as flowable.
- Excellent recovery after deformation from undercuts.
- Can be poured long after taking impression without loss of accuracy.
- High tear resistance
The light body has the lowest viscosity and is placed on hard and soft tissues to record accurate surface details of tooth preparations even in presence of moisture because of its Superior Hydrophilicity.
Vendor: Dental Avenue
AVUE AvueGum Putty/Light Body - Addition Silicone Impression Material
Vendor: Dental Avenue
AVUE AvueGum Putty/Light Body - Addition Silicone Impression Material
Related Products
DA
DA
DA
DA
DA
DA
DA
DA
DA
DA
Recently Viewed Products

- Choosing a selection results in a full page refresh.